Current Promo
Current Promo
Current Promo
Current Promo

The outstanding choice by far!
Smooth Purchase for an Excited youngster
High quality, great service
Wouldn't pick another brand
Vuly has the most amazing customer…
Take the leap & you won’t regret it!
Rated 4.9 out of 5 based on 718 Reviews on
With exceptional ratings from over 1,900 reviews on productreview.com.au, we strive to provide Aussies with quality, durable and innovative outdoor play equipment that will last a lifetime.
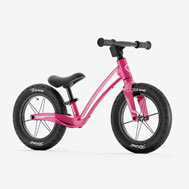
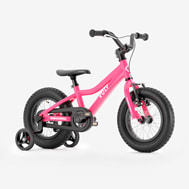
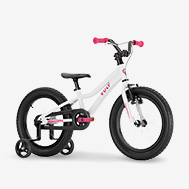
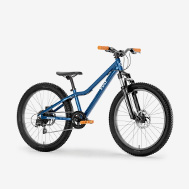
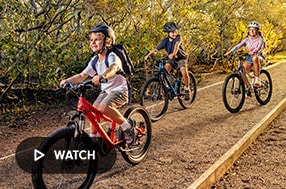
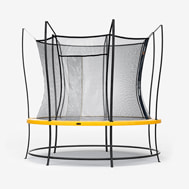
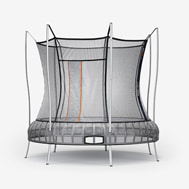
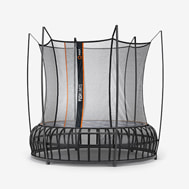
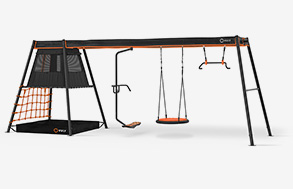
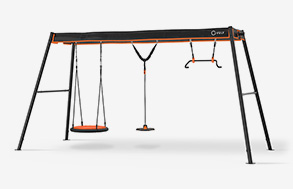
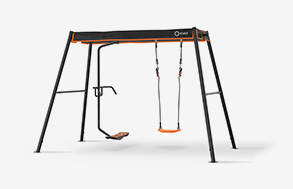
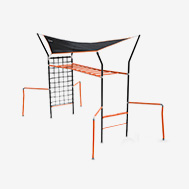
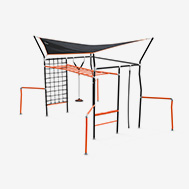
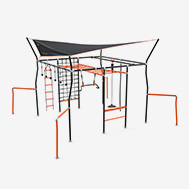
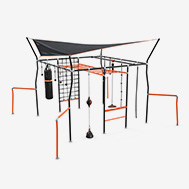
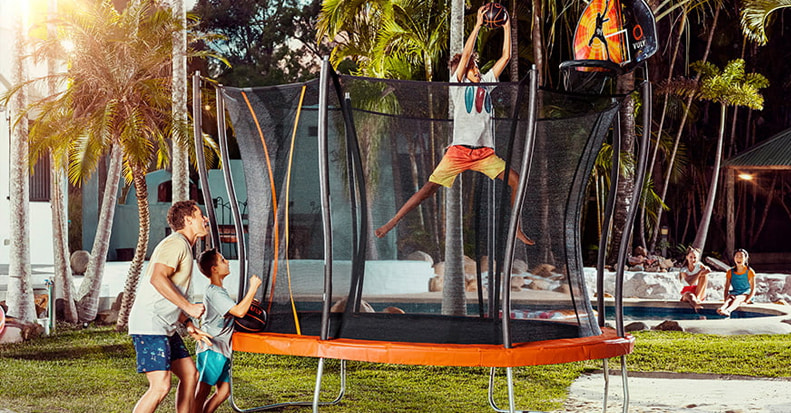
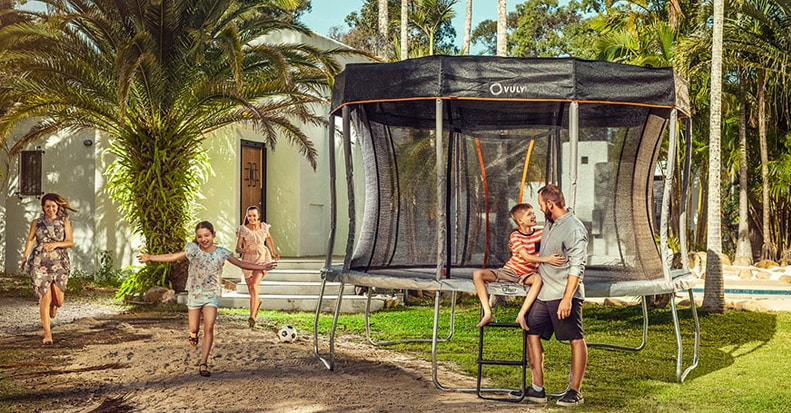
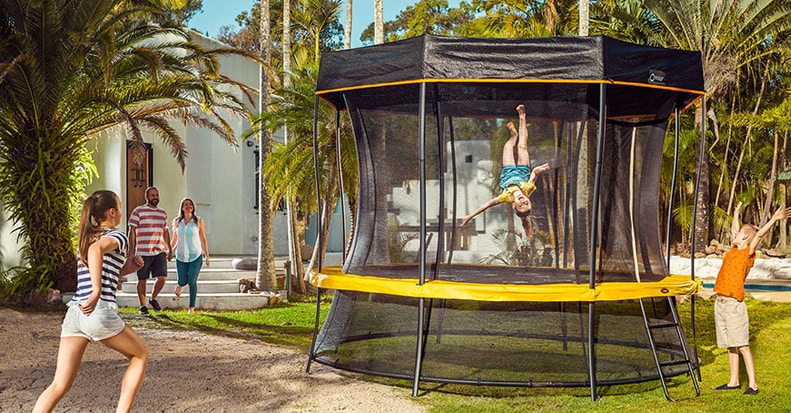
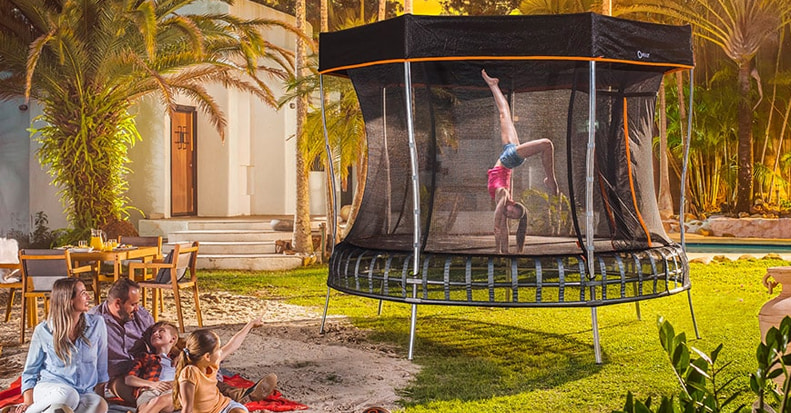
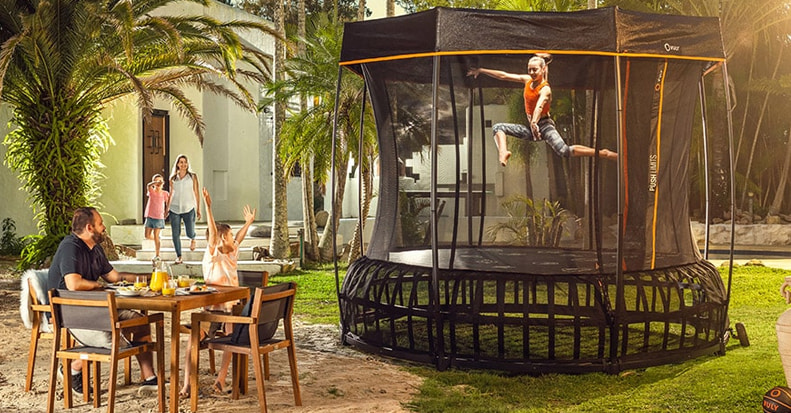
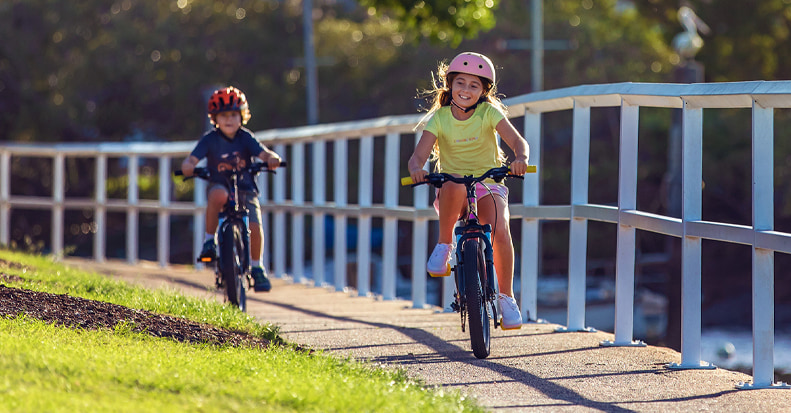
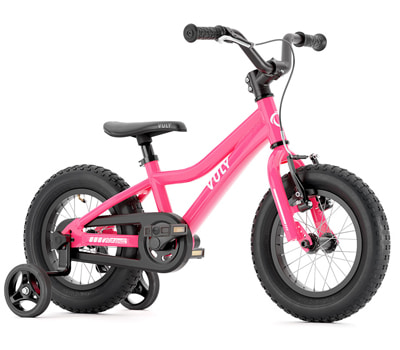
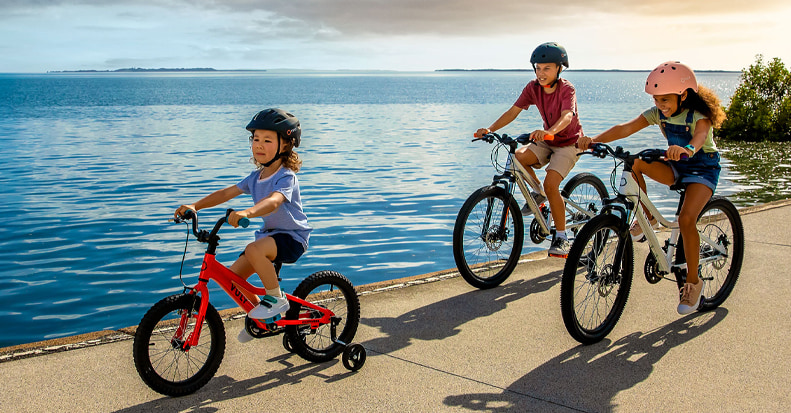
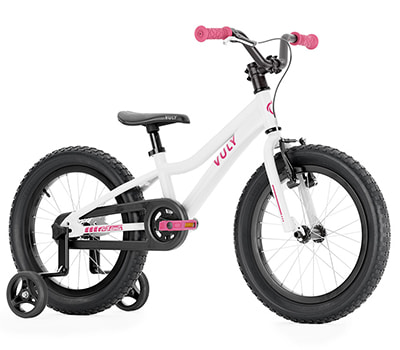
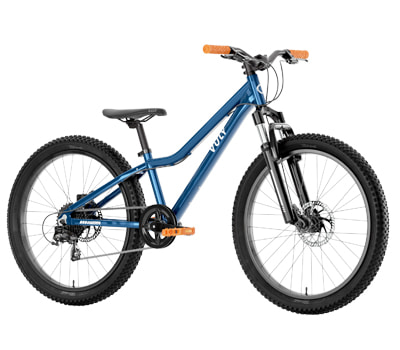
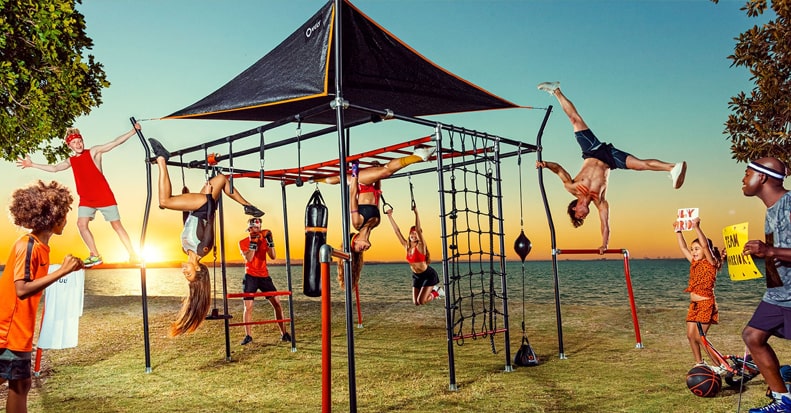
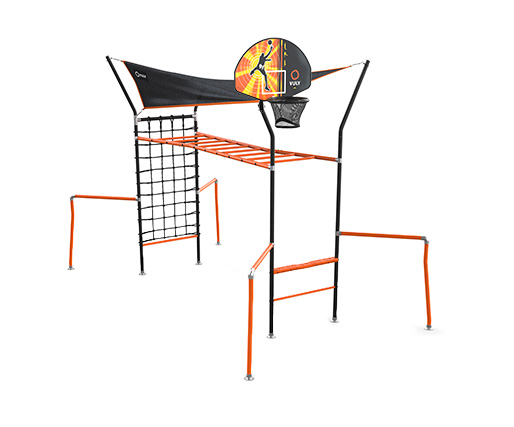
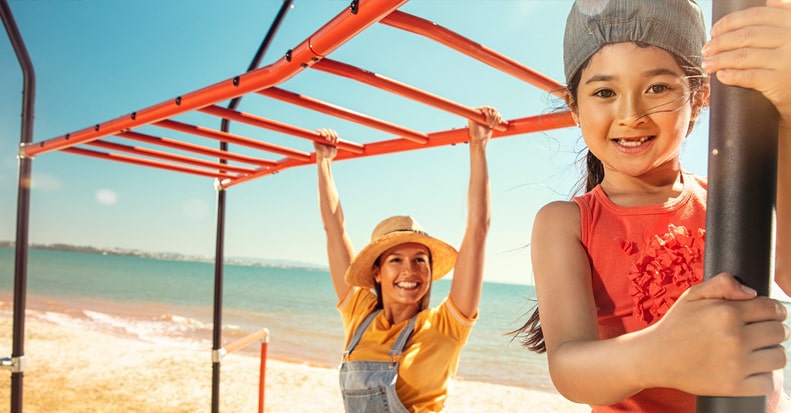
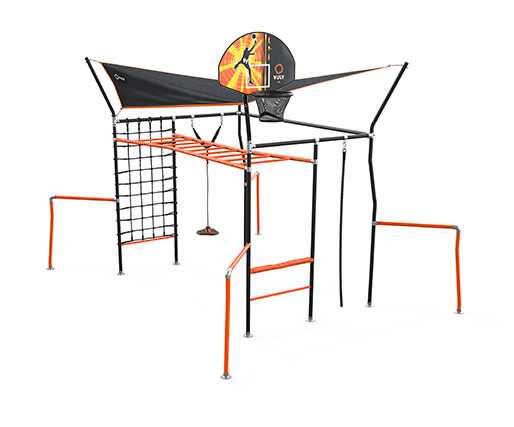
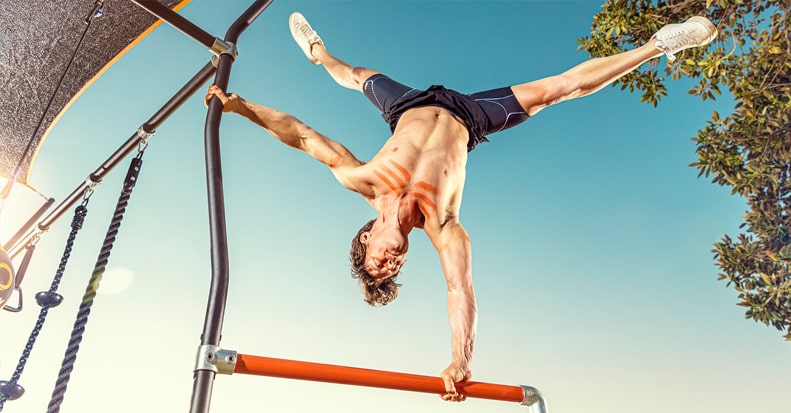
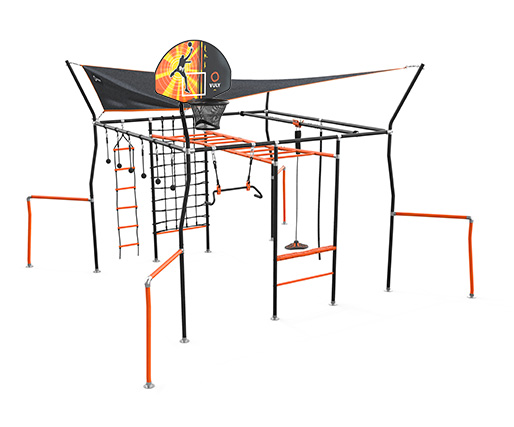
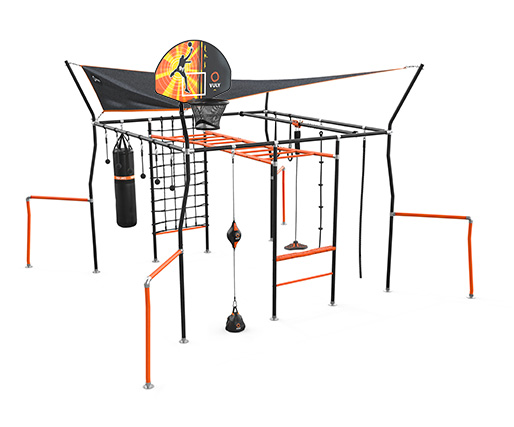
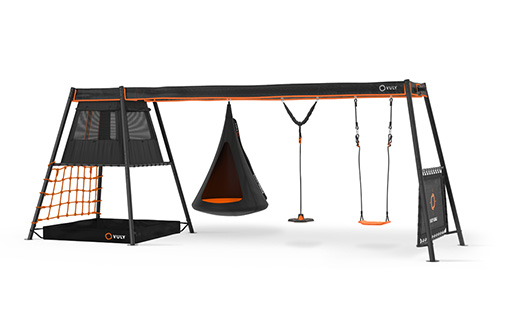
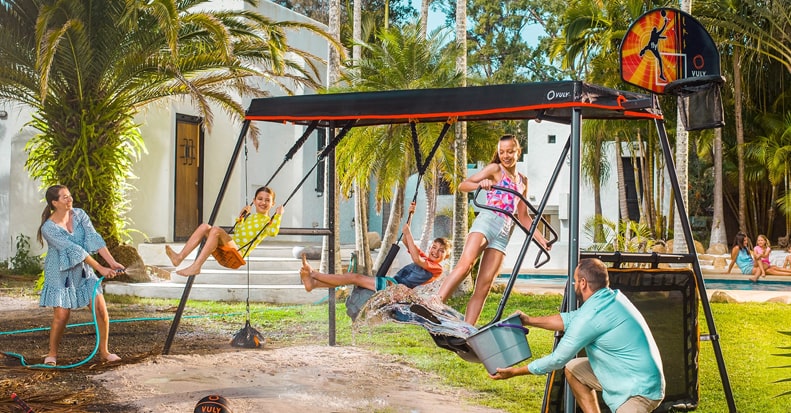
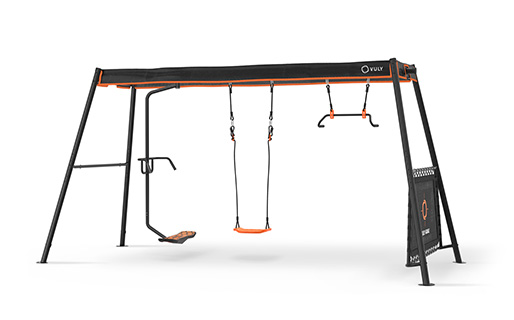
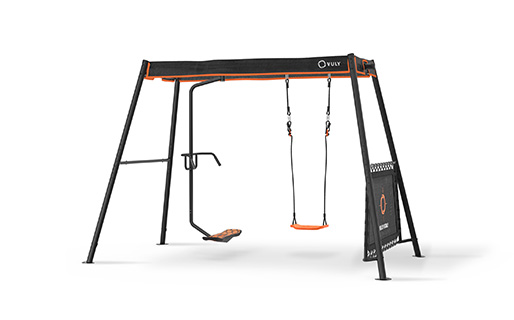
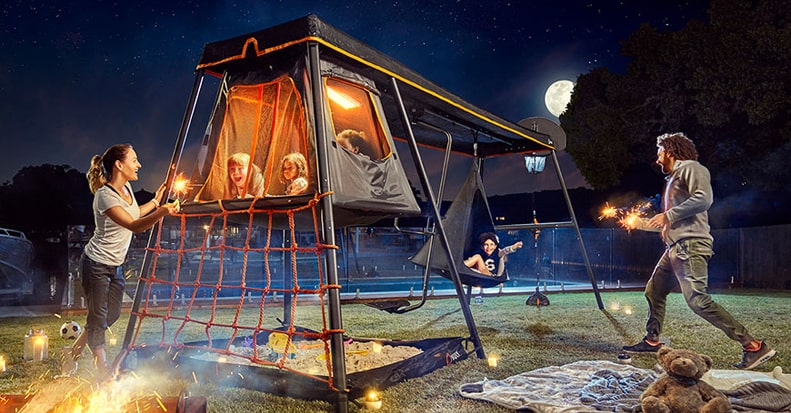
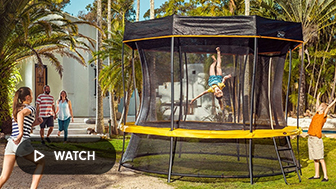
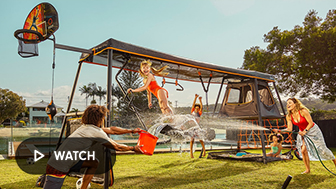
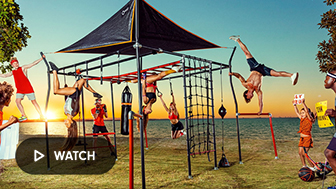
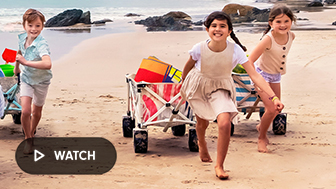
Our growing range of play equipment includes our award-winning trampolines, swing sets, monkey bars, kids bikes, cubby houses and more!
Founded in the vibrant city of Brisbane, Vuly delivers state-of-the-art kids outdoor play equipment and the best trampolines in Australia to homes across the country. To buy any of our Vuly products, find an authorised reseller near you or browse our full Vuly range online.
Terms and conditions:
Terms and Conditions
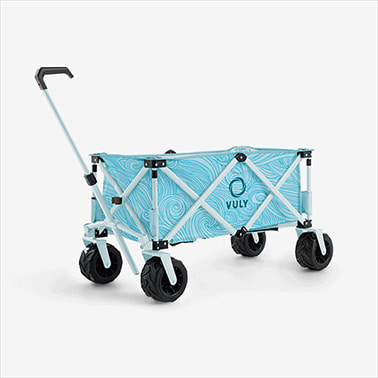
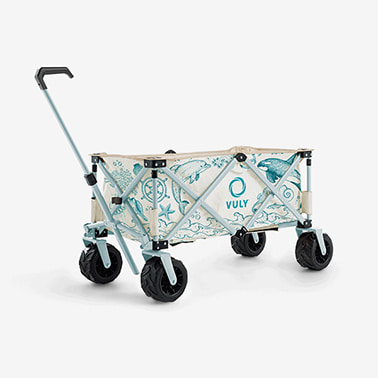
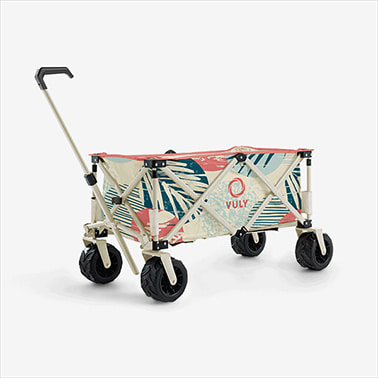
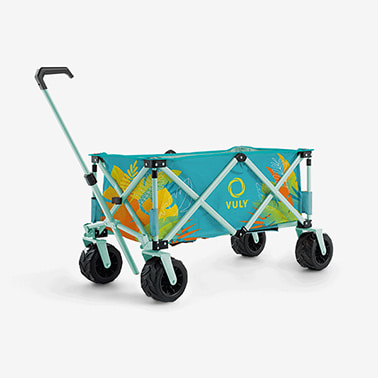
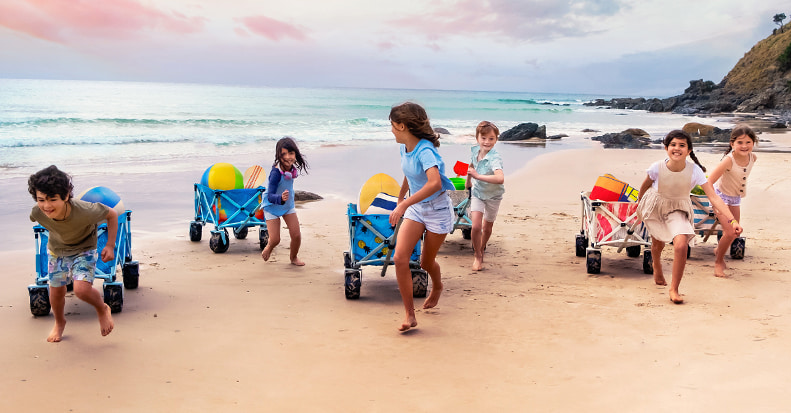
1) Free delivery applies to trampolines, swing sets, monkey bars, bikes, and wagons. Shipping surcharge applies to remote rural locations. Half-price shipping to NT, TAS and Australian islands/territories detached from the mainland.
2) 95% of Australian customers' delivery fees are $350 or less.
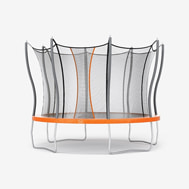
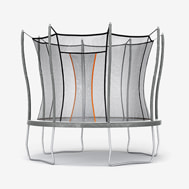
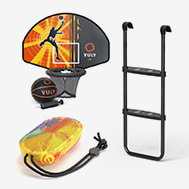
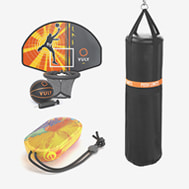
3) Customers can choose between 2 promo options for trampolines. One is lower-price with no accessories and the other is higher-price with the option of a Tent Bundle OR basketball set. Flare is excluded from this deal.
4) Up to $1,400 off across selective products only. Discount only applicable to products in stock.
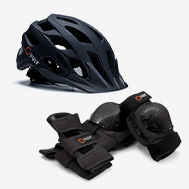
5) Pro Helmet and Water Bottle Cage included with all bikes (excludes balance bikes). No water bottle included.
• Australian customers only.
• Ends Midnight AEST, 30 Apr 2024
added to your cart